Step 1:
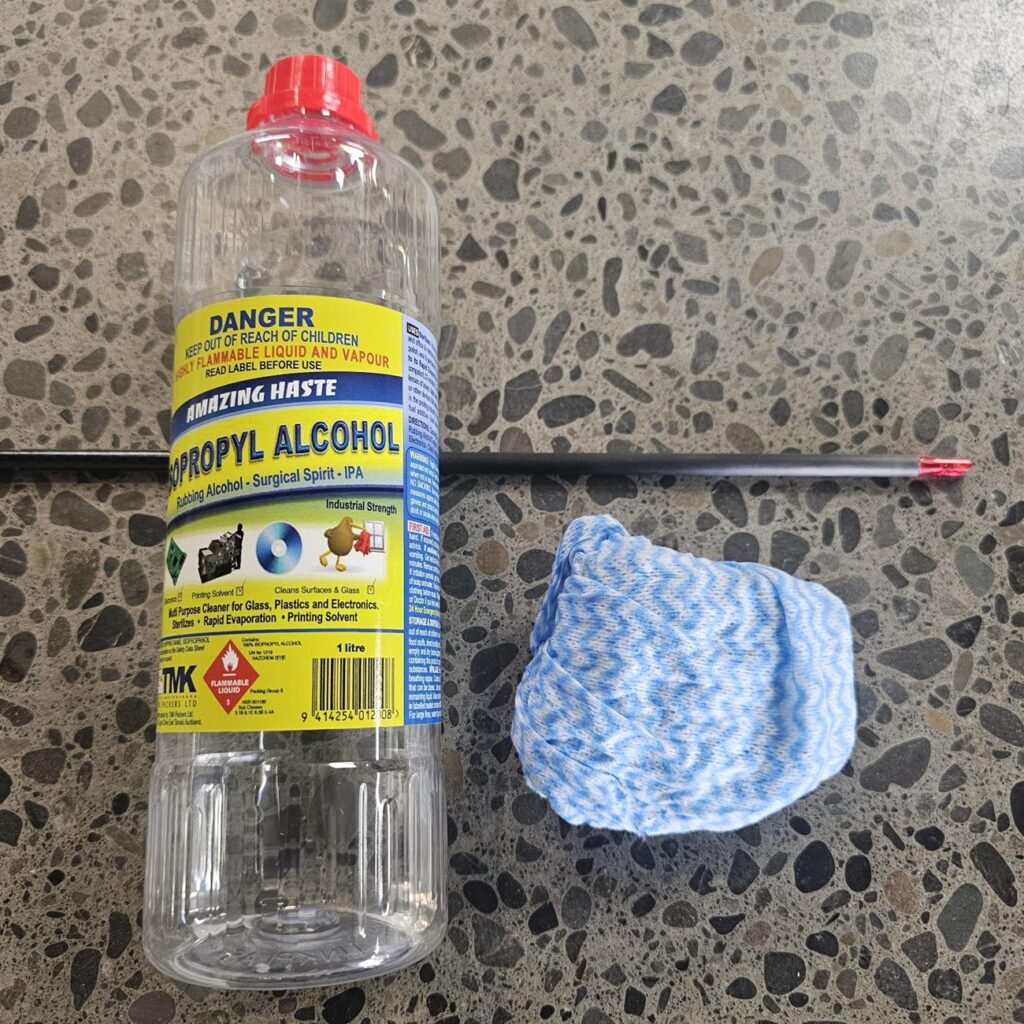
Gather all your shafts and ensure the gluing surface is free from grease and fingerprints etc, we find the use of Isopropyl Alcohol and a clean cloth best for this, allow the surface to dry.
If you don’t have cleaning alcohol you can always use dishwashing liquid and warm water, just ensure you wash all the detergent off and allow the shafts to dry completely.
Step 2:
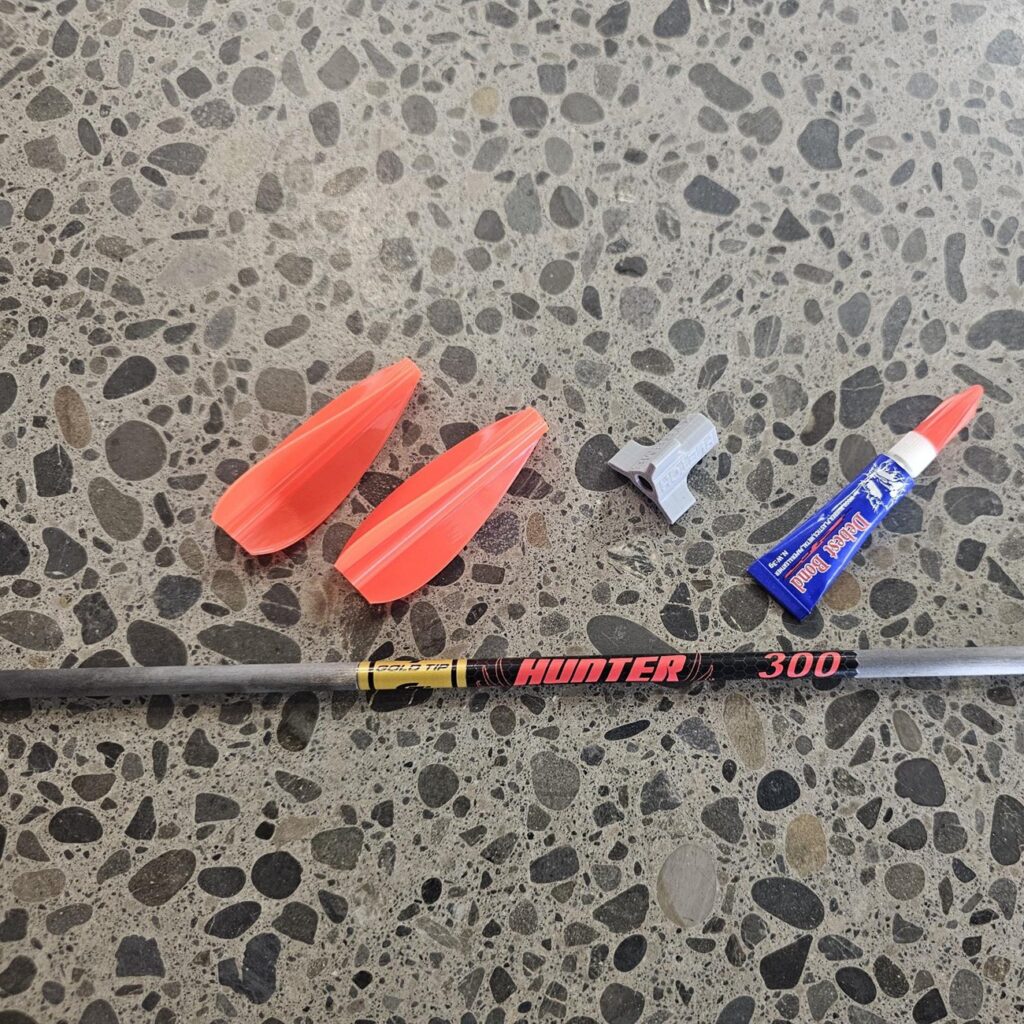
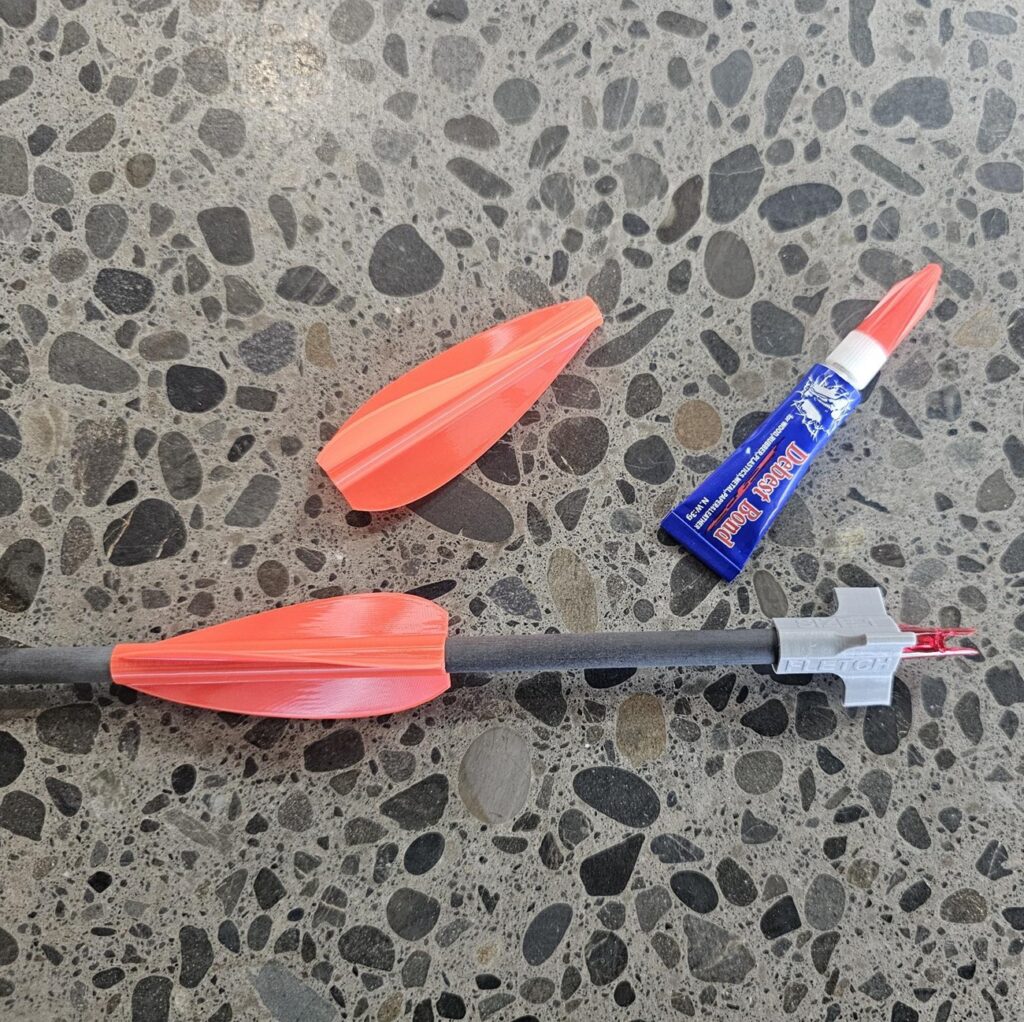
Grab your X-Fletches, Super Glue and X-Fletch Spacer.
Step 3:
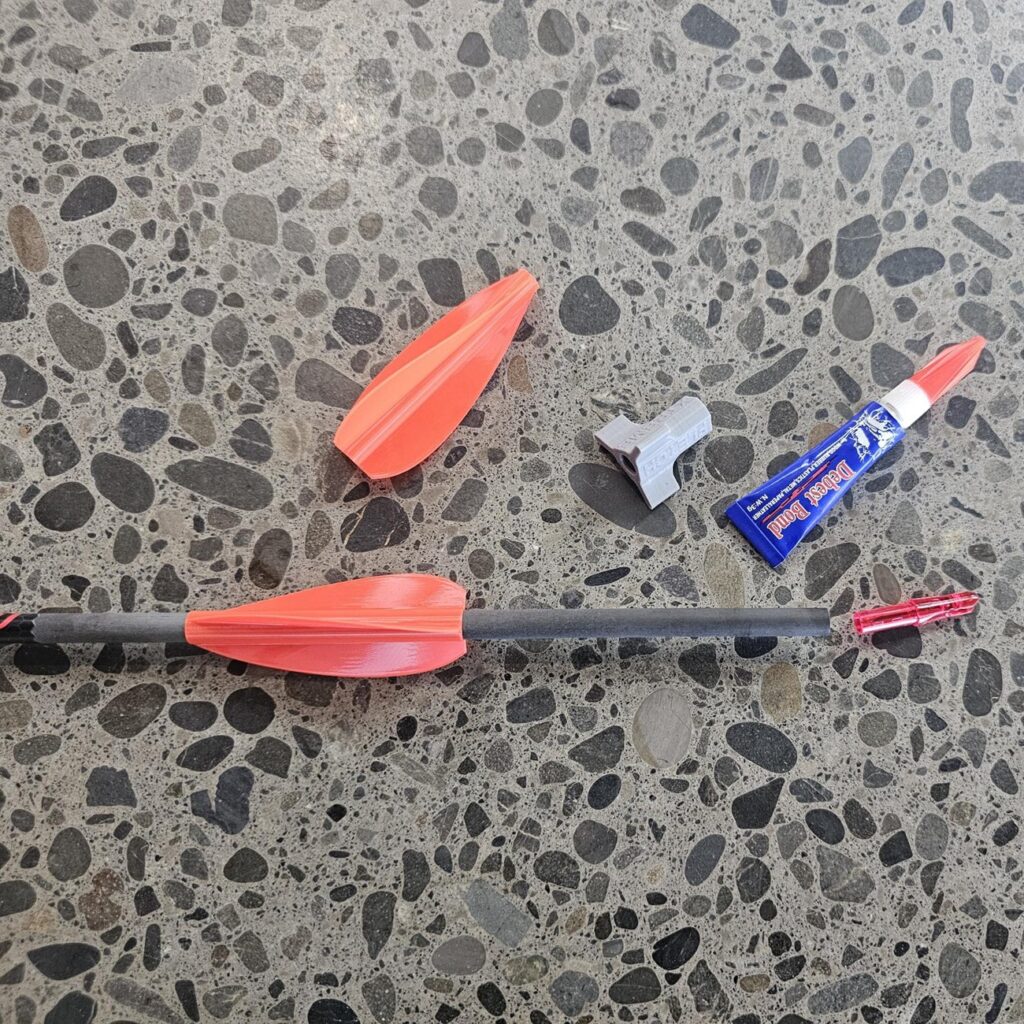
Remove the nock from your arrow and slide one X-Fletch up the shaft.
Step 4:
Put the X-Fletch spacer onto the end of the arrow and re-install the nock.
Step 5:
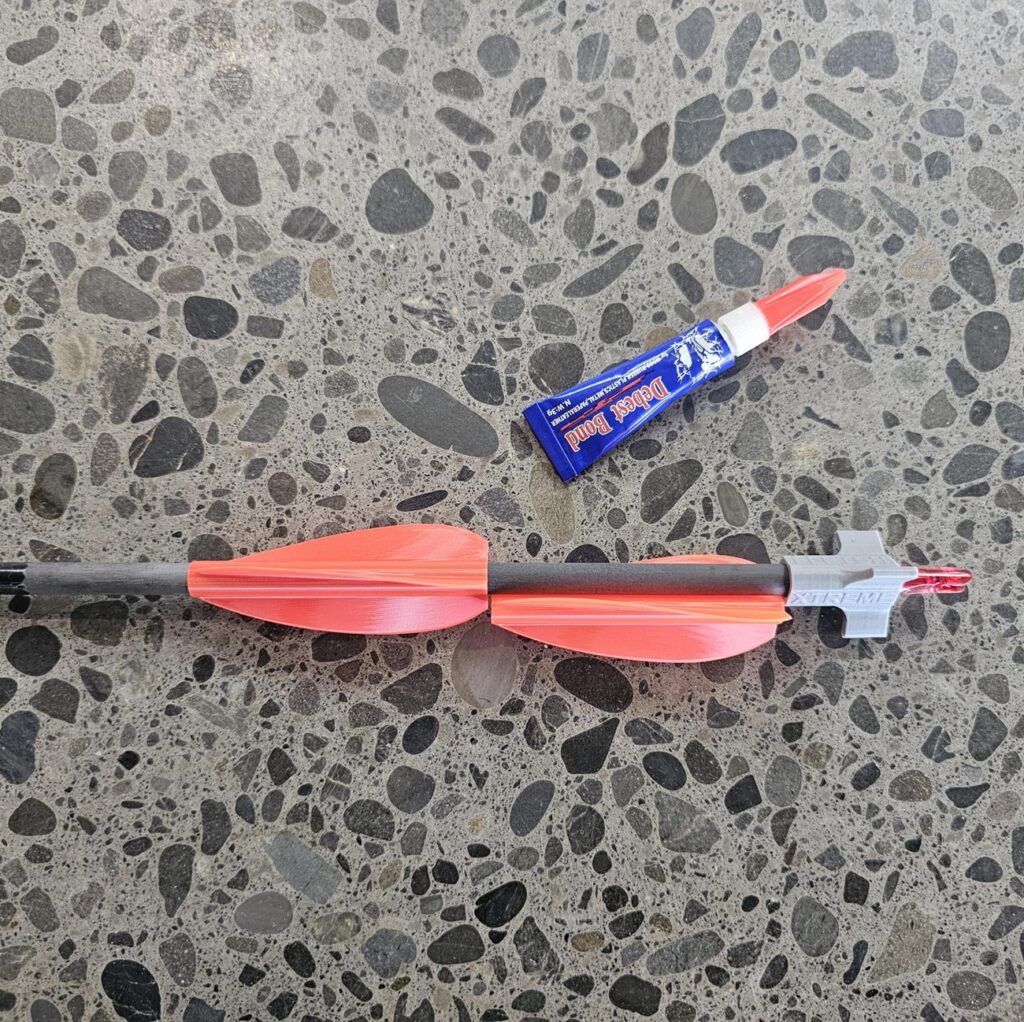
Set the starting position.
Using a second X-Fletch will give you the perfect position.
Alternatively you can measure this distance from the spacer to the back of your X-Fletch. the distance required will vary depending on your X-Fletch length.
Step 6:
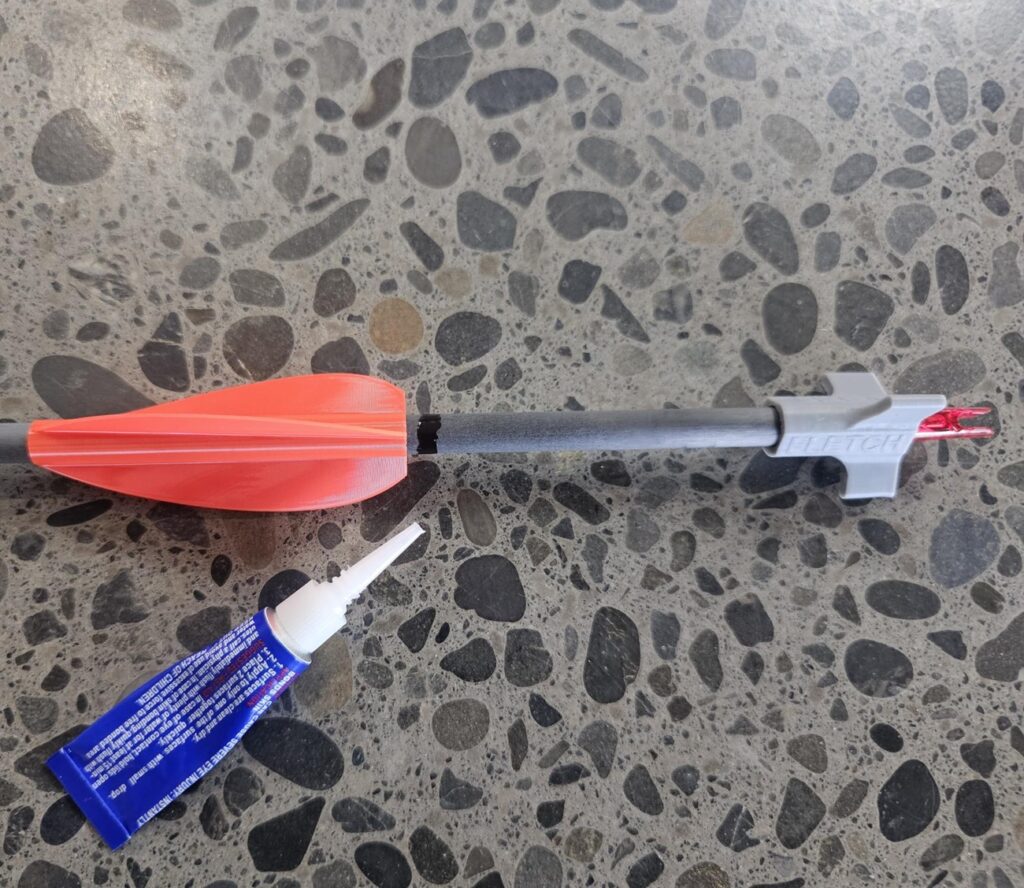
Make sure you don’t get glue onto the fletch at this stage.
Run a bead of superglue right around the shaft about 3-5mm behind the X-Fletch, you don’t need a lot.
Pro Tip:
Before adding the glue, test out the slide motion in step 7 , if you get it wrong with the glue you might end up with fletch in the wrong position.
We recommend trying this a couple of times to be safe.
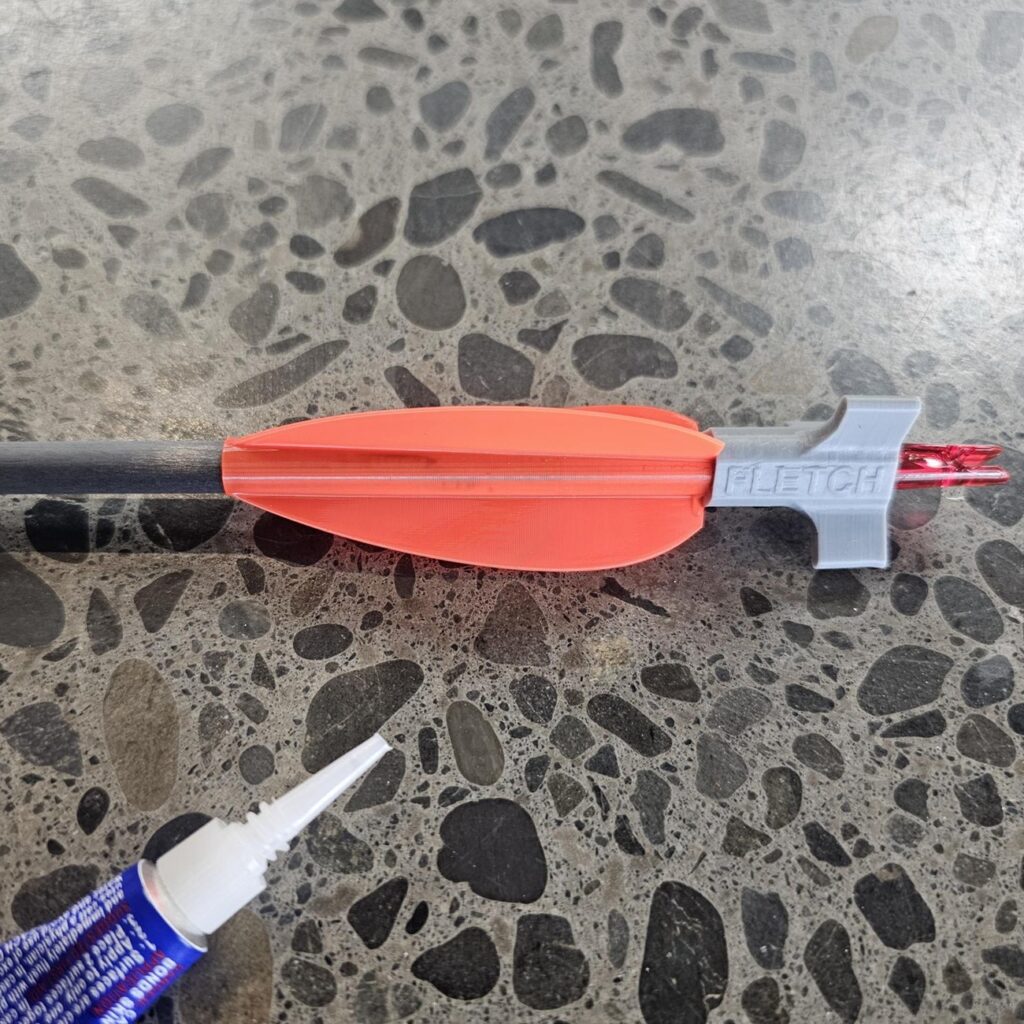
Step 7:
In a smooth motion slide the X-Fletch backward until it touches the Spacer, this will spread the glue underneath the fletch.
Step 8:
Remove the X-Fletch Spacer and reinstall the nock.
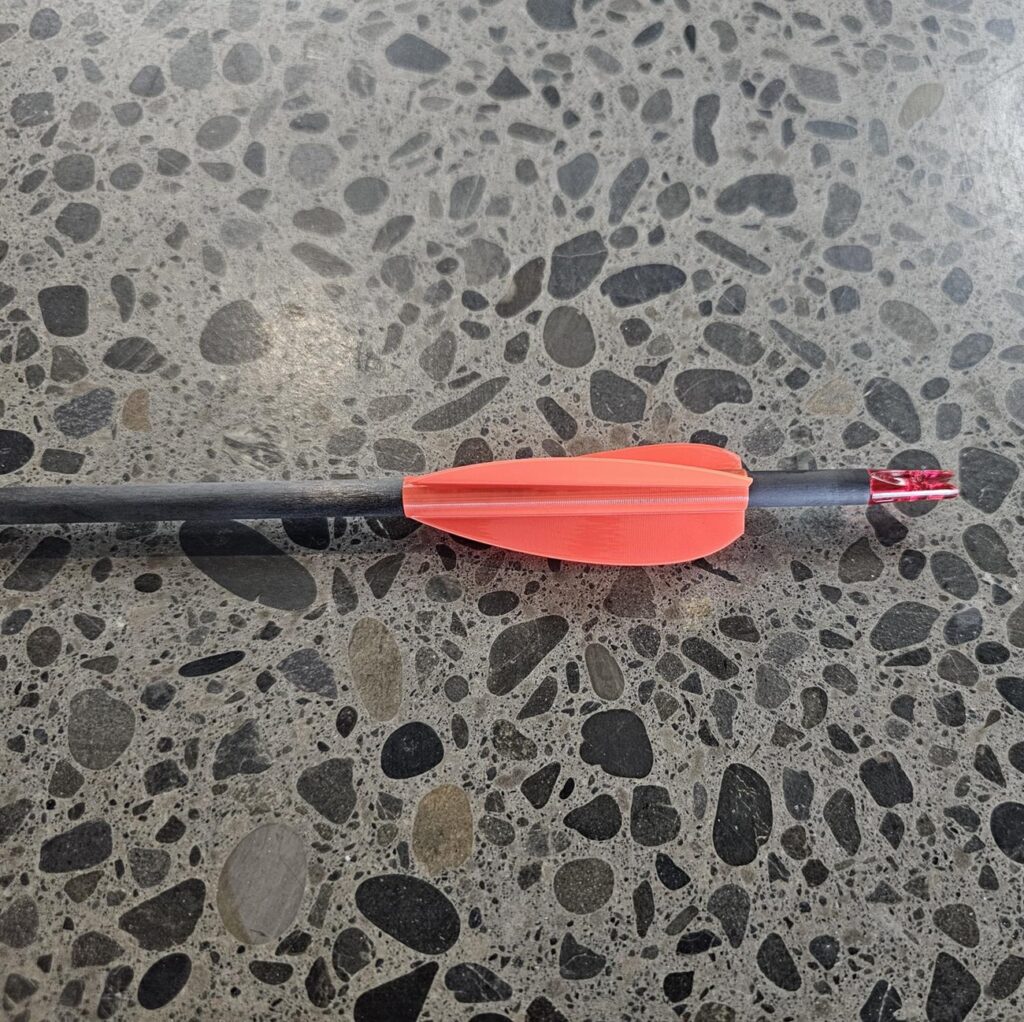
Job complete you can shoot your arrow right away.